
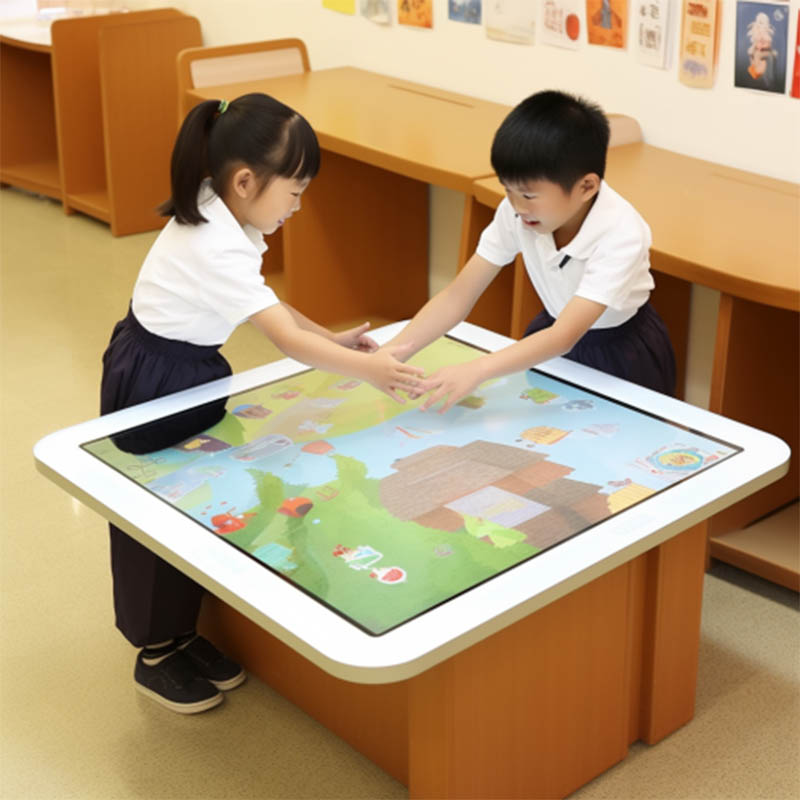
A modular table can simplify delivery to rooms that are difficult to reach, but detachable construction also creates responsibilities that a fixed unit does not have. Every joint, cable and removable part must be identified, protected and checked after assembly. A detachable smart touch table performs reliably when transport planning, installation records and routine inspection are treated as parts of the product rather than afterthoughts.
Plan packaging around the actual transport route
Before shipment, confirm the route from the loading point to the final room. Door widths, lift dimensions, stairs, floor protection and turning space can affect how the components should be packed. The heaviest or most fragile part must be clearly identified, and the package should show correct lifting points and orientation where required.
Separate hardware by assembly stage and label each bag. Protect finished surfaces from contact with metal fasteners, tools and cables. Removable legs or panels should not be allowed to move inside a carton. A packing list with component names and quantities helps the receiving team identify a missing item before installers leave the delivery area.
Inspect every component on arrival
Check the outside of each package before opening and photograph visible damage according to the delivery procedure. After unpacking, inspect the glass, frame, detachable supports, connection plates, power cable and accessories. Do not energize a unit with impact damage, moisture exposure, a cracked connector or a deformed structural part.
Match component labels to the packing list and keep protective materials until the installation passes its function test. Small fittings should remain in a tray rather than being placed on carpet or inside the enclosure. For a detachable smart touch table, careful receiving reduces the risk of forcing an incorrect part into place simply because the correct item cannot be found.
Follow a controlled assembly order
Use the supplier’s assembly instructions for the actual configuration. Prepare a clean, level working area and protect the display surface. Installers should use suitable lifting methods and enough people for the component size and weight. Never rest concentrated weight on the touch glass or use the screen edge as a handhold.
Start fasteners by hand where appropriate so threads align correctly, then tighten them in the specified sequence. Do not substitute longer screws or apply excessive force. A fastener that will not seat normally may indicate incorrect alignment, a trapped cable or the wrong hardware. Stop and inspect instead of using power tools to overcome resistance.
After structural assembly, confirm that the table stands evenly and does not rock. Check clearances around removable panels and verify that no cable crosses a sharp edge. Record the installed configuration with photographs. That record gives the maintenance team a reliable reference when the product is dismantled later.
Route cables for both operation and future removal
Cable routing must protect connectors while allowing the correct module to be removed for service. Keep power and signal leads away from pinching points and use the designed clips or channels. Leave enough service slack for connection, but not so much that a loop can touch a fan, drag on the floor or become trapped between modules.
Label both ends of internal and external cables. Where several connectors look similar, use a diagram rather than relying on memory. Disconnect by holding the plug body, not pulling the cable. Inspect locking tabs, bent pins and strain relief before reconnection. These habits reduce intermittent faults after repeated assembly cycles.
Run a complete post-assembly function test
Mechanical stability comes first. Once the structure is secure, connect power and start the system. Check the display for a stable image, then test touch across the center, edges and corners. Open the applications used at the site, verify network access and test any external video, USB or audio connections.
If the pointer is offset or responds on the wrong screen, review the system mapping and use the approved calibration process. Do not attempt to correct structural misalignment with software. The post-assembly record for a detachable smart touch table should include the date, installers, component condition and results of each test.
Protect parts during repeated disassembly
Repeated transport creates wear at threads, connectors, panel edges and cable entry points. Before dismantling, shut the system down normally, disconnect power and remove all loose accessories. Photograph cable routes, mark paired components if permitted and place fasteners into labeled containers immediately.
Inspect every joint as it is opened. A damaged insert, cracked bracket or connector that has become loose should be serviced before the next event. Do not continue tightening a worn fastener to compensate for damage. Replace components only with approved parts that match the structure and electrical requirements.
Clean surfaces and keep cooling paths clear
Turn the display off before cleaning and use a soft microfiber cloth to remove loose dust. Apply approved cleaner to the cloth rather than directly to the screen. Protect seams and ports from moisture, and use a separate cleaning method suitable for the frame material. Packaging dust should be removed before operation because it can collect around vents.
Check that ventilation openings remain clear after every assembly. Decorative panels, cable bundles or temporary event materials must not restrict airflow. Listen for unusual fan noise and investigate repeated shutdowns or slowing performance. Internal cleaning or fan service should follow supplier guidance and qualified maintenance procedures.
Create installation and acceptance records
A useful handover file includes the packing list, assembly instructions, cable diagram, photographs, accessory inventory and test results. Add contact details for responsible service personnel and the approved process for ordering replacement parts. Keep one copy with the operator and one in the project record.
Acceptance should cover more than startup. Confirm stability, surface condition, cable protection, touch accuracy, application access, network connection and normal shutdown. Ask the operator to perform the everyday startup and content-opening steps. This reveals training gaps while installers are still available.
Use modularity with discipline
The main advantage of a detachable smart touch table is that transport and site access can be easier when the table is divided into manageable modules. That advantage is preserved only when parts are labeled, fasteners are controlled, cables are protected and every reassembly receives a proper function test.
With clear records and careful handling, a detachable smart touch table can move between exhibitions, offices, education spaces and temporary projects without turning every installation into a new experiment. Consistency protects the equipment and gives each site a predictable interactive experience.